400p is non standard value. 390p is close enough if you account tolerances.
In my country I can easily obtain 390p 0805 SMD cap for less than 0.01€
As of ratnest, connections are shown as shortest paths.
At schematic C1 pin 1 is connected with C4 pin 1 and with U1 pin 1 and with U1 pin 5. Notice that it is true even I listed them not in the order they are connected at schematic. They all are just connected with themselves (and also with C2, C3).
At PCB you have the same. Some connections already done with tracks and missing connections shown with connection lines.
Generally yes, but you can change connections order if it helps you route the PCB. For example you can route track from C4 pin 1 to U1 pin 1 even there is no such connection line.
Connection lines are organised to be as short as possible, but real tracks can go around to avoid crossing with other tracks and to do this the pin connection order can be changed.
If you try to connect something with other pad thinking that it is right connection but it is not KiCad will not allow you to do such connection - it is one of the main tasks of PCB design programs to protect you against doing something not in accordance with schematic.
I think there are wider concerns here
This circuit has been posted here (and electronics.stackexchange) over quite a few months and always snippets of the circuit/layout, the area where the user thinks the problem is.
Each time similar wider queries have been made but have been overlooked (maybe because the OP is only interested in what is believed to be the problem or the recomendations are not appreciated)
Now in the 1st post the OP write
So why did the 1st iteration fail?
Did the circuit design rules pass? Is the circuit valid
Did the PCB design rules pass, including unconnected nets
What exactly failed and did you ever get it working
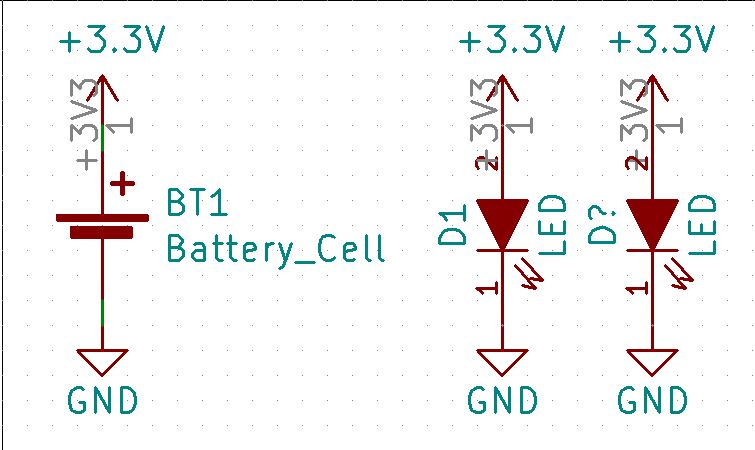
U1 is a quad opamp but is drawn as a monolithic chip. It would be better to draw it as a mutlipart opamp as it makes reviewing the cct easier.
Likewise having all 4 capacitors as the feedback is odd… Is it to realise 400pf on one channel or was the intent to have one per opamp.
Capacitive only feedback creates an integrator, is this the intent. Using leaded parts and placed as they have been produced large stray capacitance , negating the low value C and potentially creating an oscillator
Using net labels and global power also makes the cct easier to capture, review and debug
A 44 MHz opamp is getting fast enough to be fussy about layout
SSOP-16 is a horrible package to hand solder. The part is available in SO-14, which is a lot easier
In my opinion it is risky to bet that almost any given circuit performance will not depend on good layout. I had experience with a simple power supply based on a 60 Hz transformer, bridge rectifier, output filter capacitor, and 7805-type linear regulator. Bad layout caused significant 120 Hz ripple to appear on the output.
In my opinion, that is overstated. My hands are not so steady yet I have hand soldered a lot of small pitch packages. This includes 10 lead MSOP which has tighter pitch. First; using fatter pads at the corners helps significantly. Also extend the pads out further than normal from the IC. Second; flux is helpful when soldering. Use a “flux pen” and do not just rely on the flux in the solder core. Good flux draws solder away from masked areas and towards the pads where you do want it. You may need to clean flux away with alcohol after soldering.
Yes even if I had a massive quantity of 100p radial capacitors in stock, I think I would rather buy a 390p 0603 or 0805 chip. Given that you are designing a pcb and are not hand wiring point to point, I cannot think of any advantage to using the radial leaded parts. This is especially true of using four of them in place of one 0603 or 0805 chip.
Of course.
But we are currently at the level of not understanding that changing order of pins connected with wires at schematic don’t change the netlist we get.
So for ‘higher electronic’ I think it is too early. Better would be to not overwhelm the beginner with too much information.
I agree,
what we need is some clear information from the OP on this. for record, if anyone is interested, these are the other queries on this exact design in case someone wants to try to piece together the issue. I still am not 100% sure of the entire circuit or function
Thank you all for your kind answers. Sorry if i am being annoying, i am new to pcb design, so i am trying to piece everything together.
I had trouble sourcing smd caps that i wanted, so that’s why i went with this approach. Bough caps that are easily available.
If i draw traces to where my ratsnest point, i will end up with something like this:
As you can see, pin 1 of C1 does not connect anywhere. Is this acceptable?
As I can see pin1 of C1 (I’m assuming which one is pin1 because there is no marking on the schematic or the PCB differentiating pin1 from pin2…) is connected to C2-1, which is connected to C3-1, which is connected to C4-1, which is connected to U1-5, which is connected to U1-1. Therefore, C1-1 is connected to U1-1, as it is also connected to all the other pins in the net.
I think your confusion is thinking that the lines in the schematic should match 1-1 the traces on the PCB. That’s not how nets work. Think, instead, of nets being pools of connected pins.
It is a great shame that BobZ didn’t hi-light this comment in his neon inspired colours…luv 'em.
Not so long ago, on this forum, a “new to PCB assembly” member, suffered a great deal of angst, smoke and fire caused by flux left on his completed board.
Take note of BobZ 's comment.
Hi, nick. I don’t know where you are located. To what electronics distributors do you have good access? My hunch is that you need guidance in what to look for. For starters, you ought to be familiar with this information: https://en.wikipedia.org/wiki/E_series_of_preferred_numbers and (with rare exceptions) use those values based on the needed tolerance. These days I use 1% resistors by default and mostly 10% capacitors by default for values under 100 nF or so.
See this list of 100 pF and 390 pF capacitors at Mouser. They are all 0603 size and NP0 ceramic dielectric. NP0 is the most stable; I don’t think you need to use a different ceramic type for these small values.
You have there a tracks connecting C1 with C2, C3 and C4 These tracks did not come out of nowhere. You had to make them. So you made a connection yourself and now you say there is no connection.
You have to joke or troll.
For modern, fast ICs decoupling capacitors should be connected with as short connections as possible to IC pins (each mm counts). THT capacitors need longer tracks and their own pin length also counts.
Thank you guys. Things are starting to become more clear now.
I get what you guys said about the important thing is that each part is connected, and it does not mean that a line should be necessarily present, then does this mean that taking a capacitor, and hooking it one pin to Vcc, and one pin to GND, makes it a decoupling capacitor?
I had a previous thread where i noticed that, taking a capacitor and hooking it as the ratsnest shows, it was just connected to Vcc and GND. But since the IC is connected to Vcc and GND, it was acceptable.
But i had three chips, so three decoupling capacitors. So, isn’t this just one capacitor with value (3 X 100nF) that is just connected between GND and Vcc?
In other words, i don’t understand what is a general route to drawing traces. Should the ratsnest always be obeyed?
The OP insists that the circuit works on a bread-board; I have serious doubts.
I also gave the OP an upgraded section of their schematic to show how to FIX the confusion cased by not using common net symbols such as GND. This advice was ignored and I see the screen-grabs are now even more worthless in being able to actually provide help.
Every device that specifies a requirement for decoupling caps requires that number of capacitors. Some devices specify more than one decoupling cap and more than one value of capacitance.
You can argue whether the capacitor connected in this way is still decoupling or not. It doesn’t matter whether you call it decoupling or not. It is 100% wast of time to discuss it.
Important is if the circuit works.
The cleaner the voltage between VCC and GND pin of IC (at IC !!!) the better that IC works. Assume that at capacitor the voltage is ideally clear, but when IC takes a current pulse (takes it from nearest capacitor) at tracks connecting the IC to that capacitor there are the voltage drops and not the track resistance is important but track inductance. Because of this I (and other people) have written you:
It is the most important thing regarding decoupling capacitor placement to work as intended.
If you don’t understand why - you should ask why rather than direct the discussion towards what’s called what. Capacitor is capacitor. It doesn’t care how you call it, does it?
Pin 1 and pin 5 in the schematic are shorted, which is why C4 is being displayed as being connected to Pin 5.
In the layout, there should be a connection between pin 1 and pin 5, which should solve your problem
You need to check if C1 is properly connected. It is important to check that the pin numbers of the schematic symbol and the component footprint symbol should match.